Bubble Glass Photo Restoration
By David Parrish
Posted: 03/24/15
Category: Photo Restoration
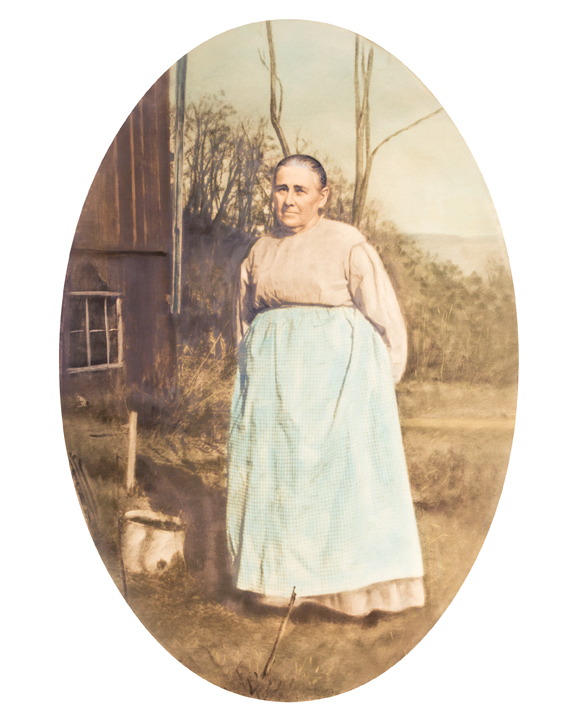
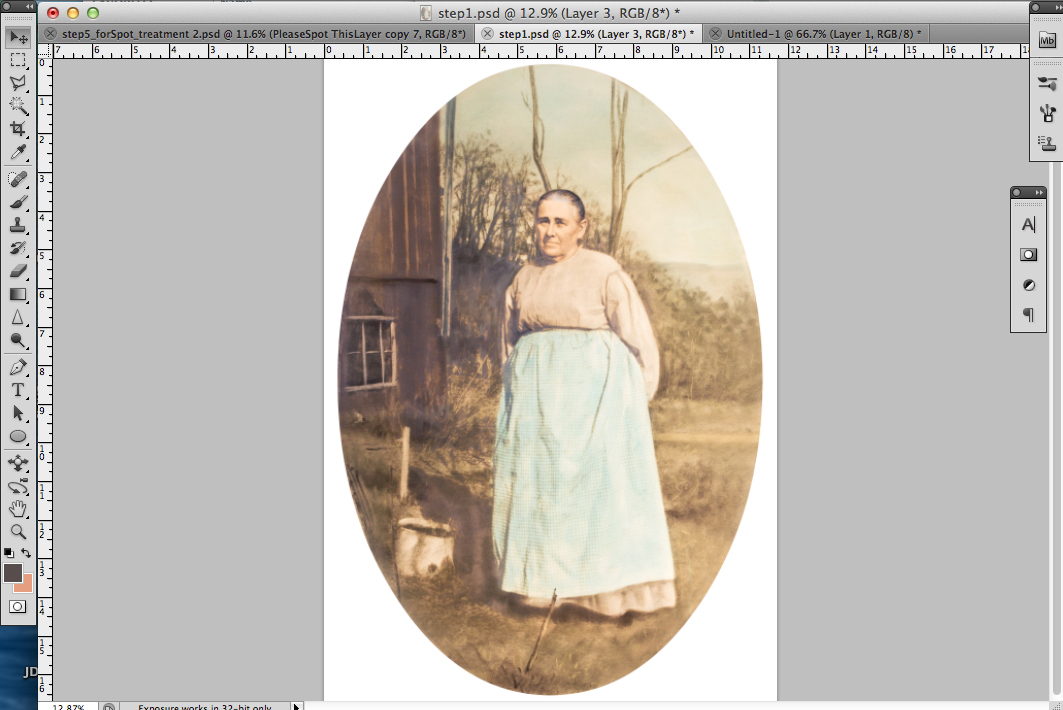
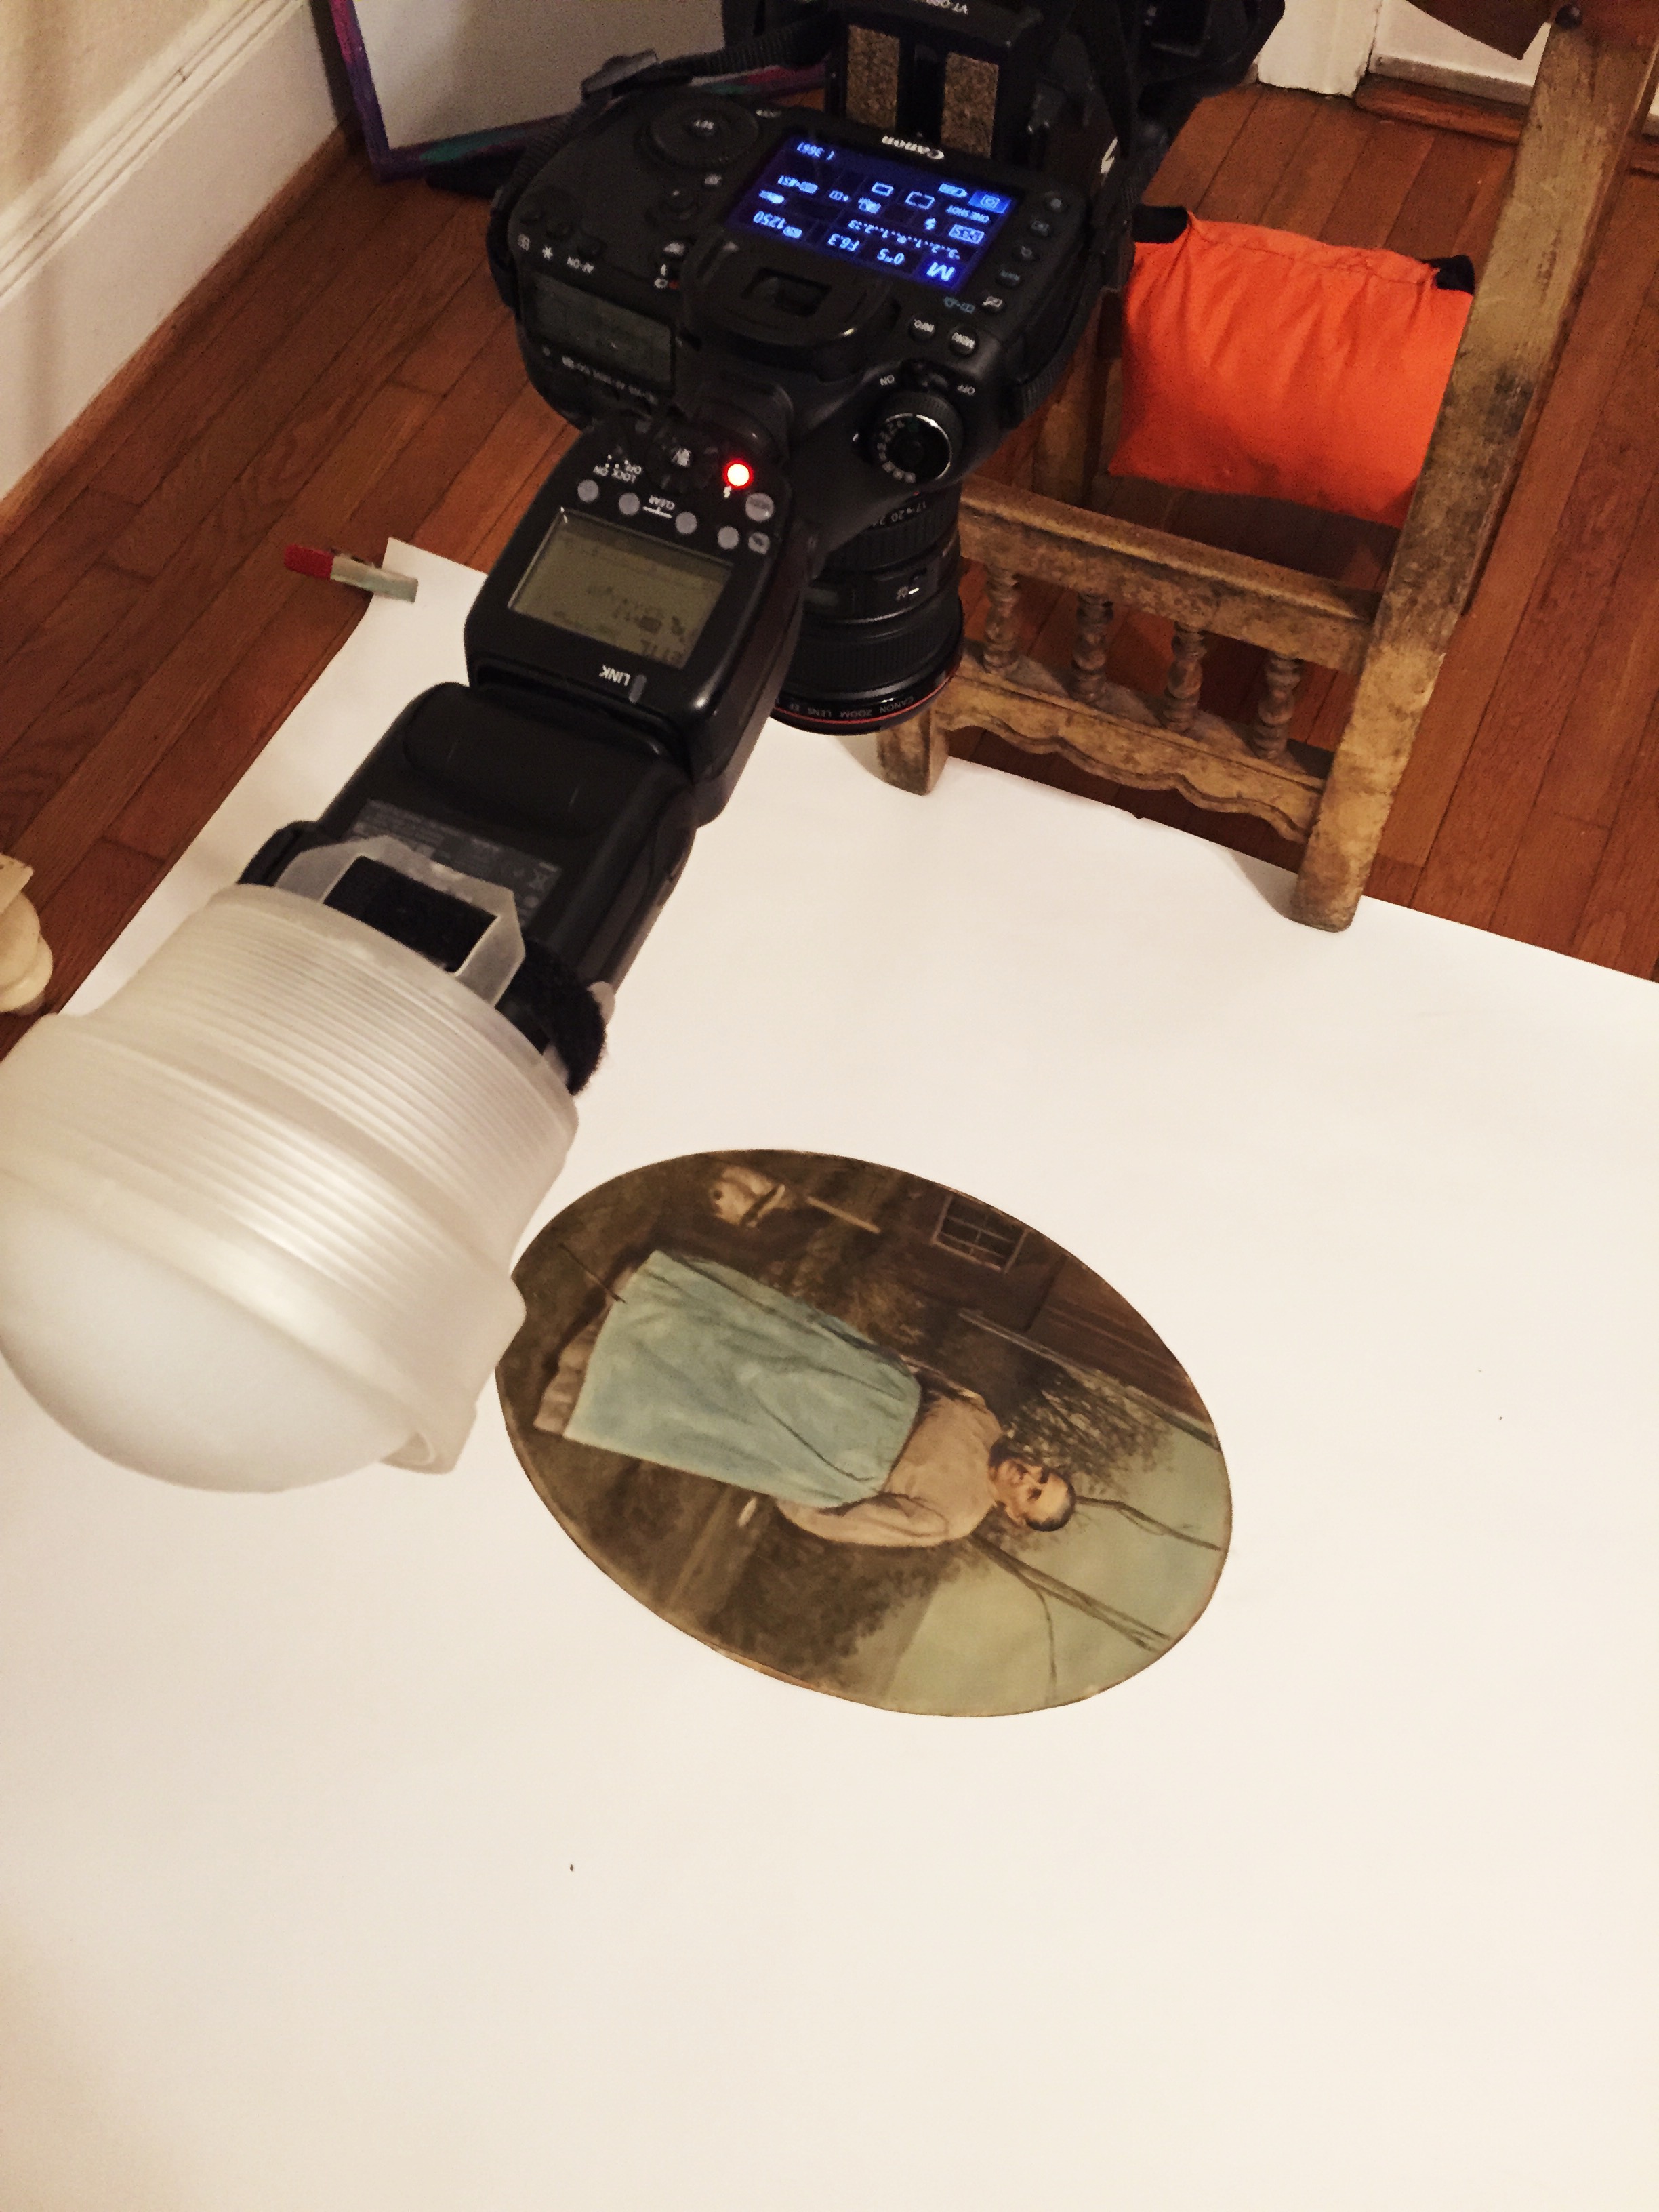
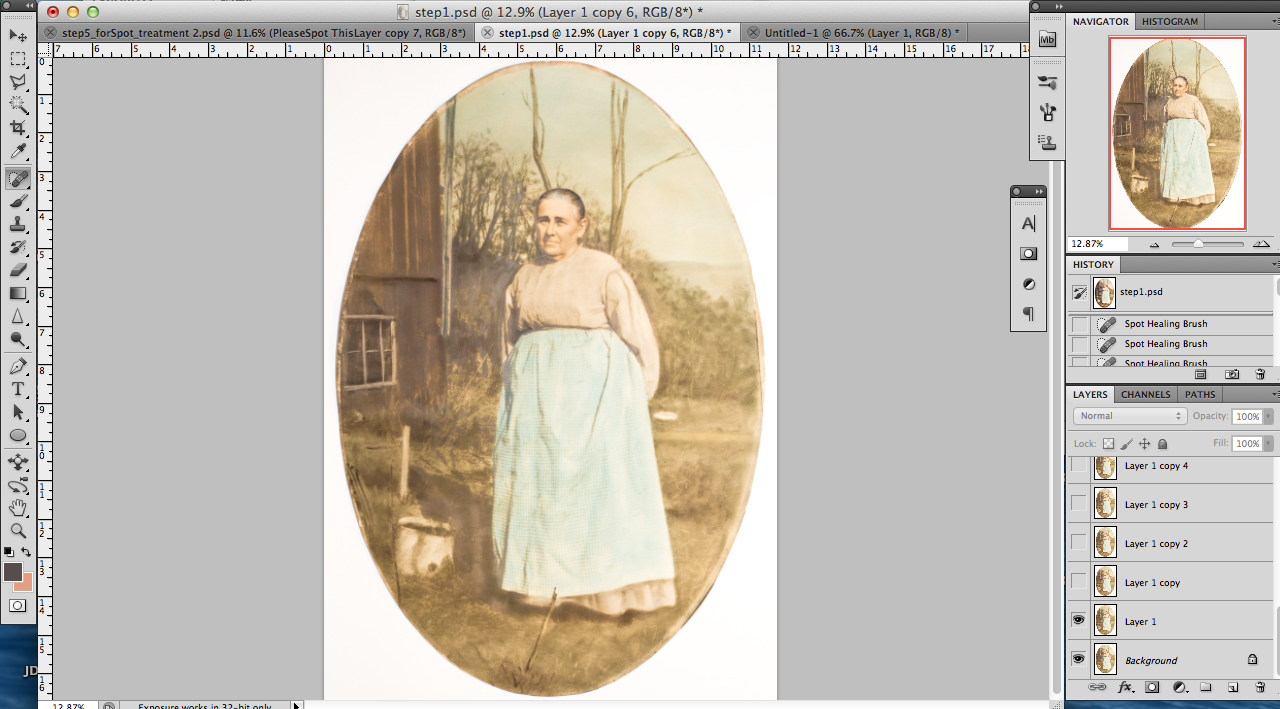
We were recently hired to restore and make digital copies of this beautiful hand tinted photograph. The only problem was that it was in a bubble glass frame and caused the print to take the shape of the glass. This meant that it would not lay flat on my scanner bed. I decided to bring out my 5D and set up a long exposure rig.
Step 1: Remove the Bulge!
Once I had the image in my computer, it was time to take the bulge out of the image. I used the lens correct tool to complete this task.
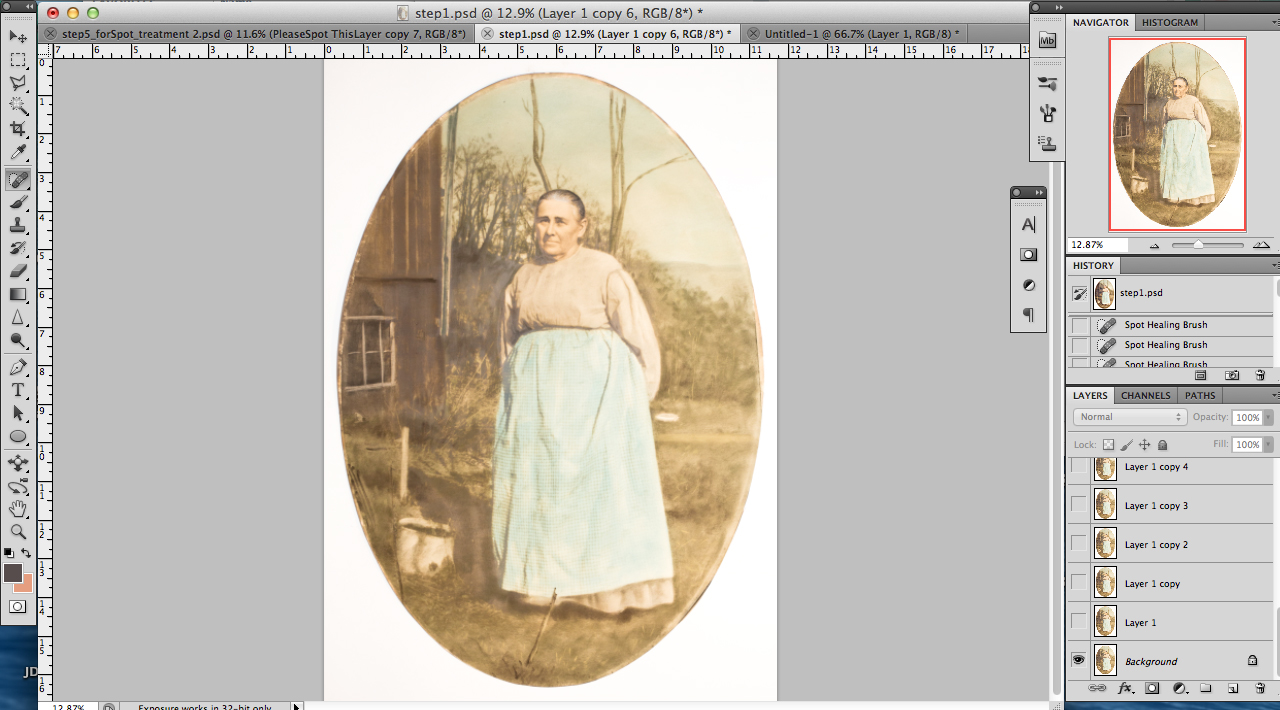
Step 2: Spot Correction
With the bulge taken out I began to lightly spot imperfections due to aging. I left the imperfections and brush strokes that were created by the hand tinting.
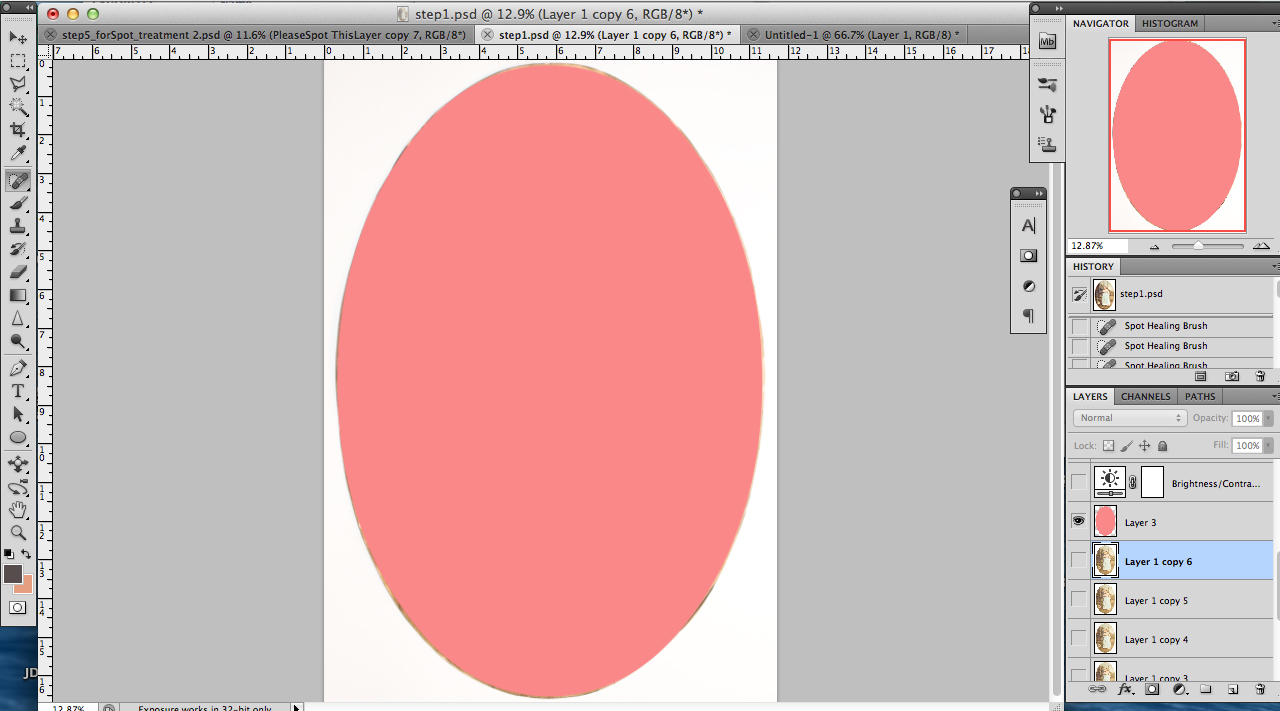
Step 3: Fix the Oval
I then wanted to clean all of the edges and give it a perfect oval shape. I created a vector image to match the exact shape of the photograph.
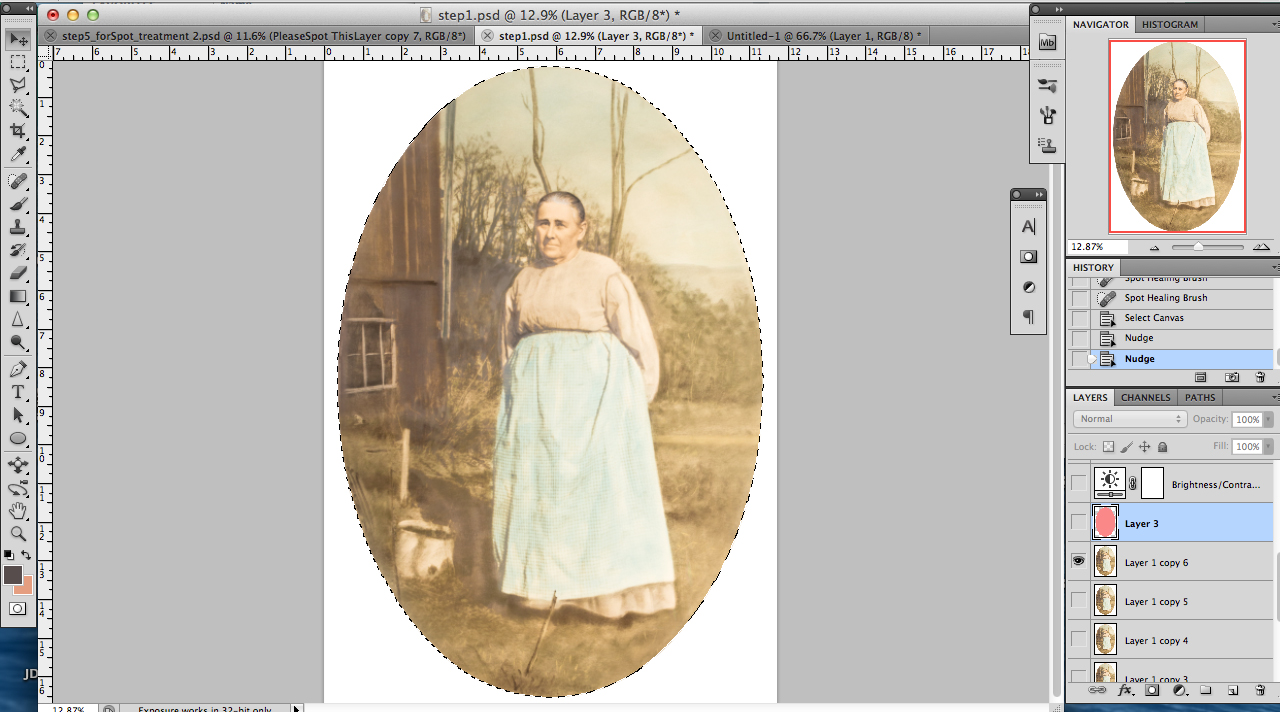
Step 4: Fix the Edges
I outlined the photo using my shape. I painted the white area to bright white and fixed all the edges with the stamp tool.
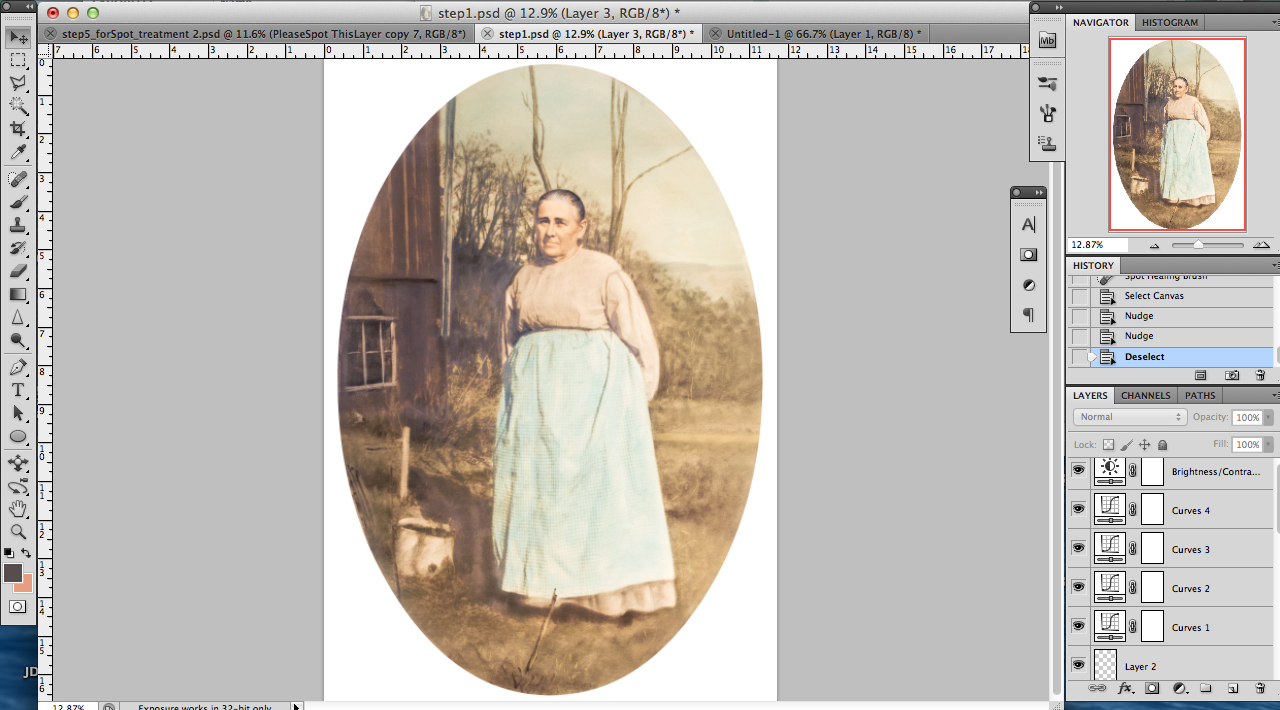
Step 5: Color Correct
Last step was to play with the curves and get the colors perfect for printing.
Step 6: Print