How To Smooth Skin With Photoshop
By David Parrish
Posted: 08/25/13
Category: Photography Tips
Everyone's face tells a story. Some of the stories we like to cover up when it comes to photography. In post, after removing blemishes, there may be some large pores or rough skin that you would like to remove for your clients. There are many techniques but this is my personal favorite because it keeps the image realistic and not over smoothed.
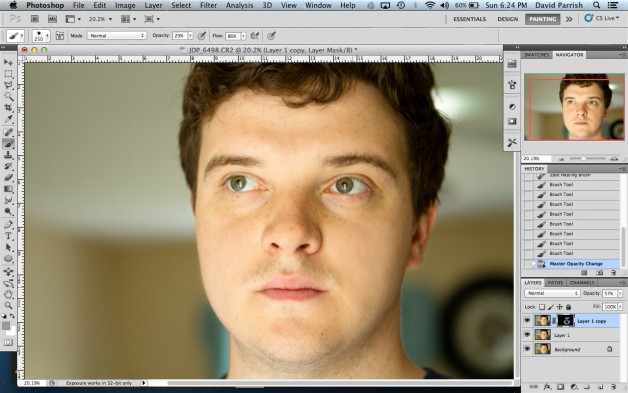
Step 1:
Open your image in photoshop.

Step 2:
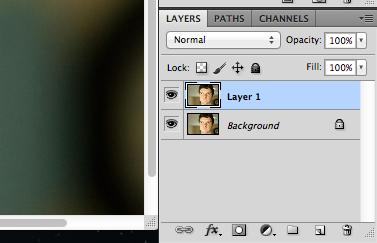
Create a copy of your background layer (command J)
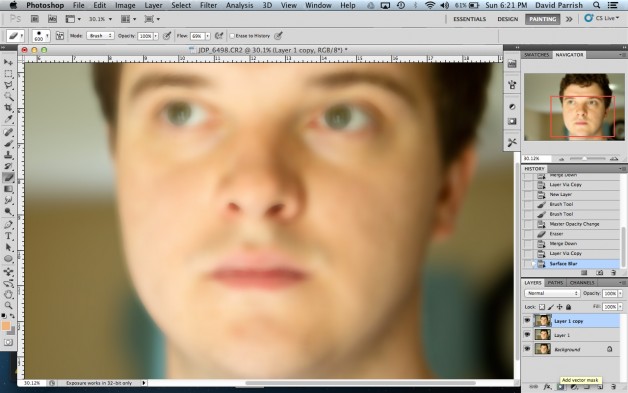
Step 3:
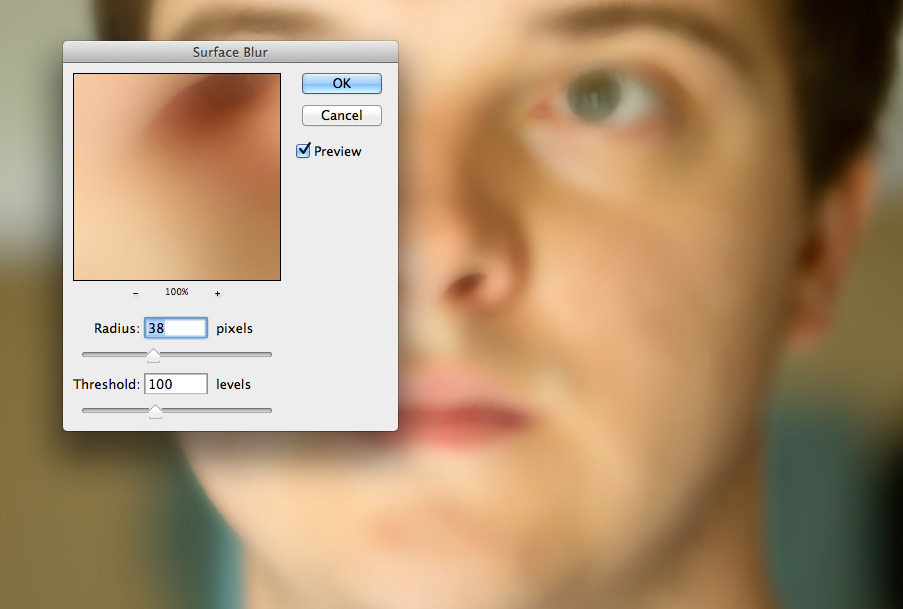
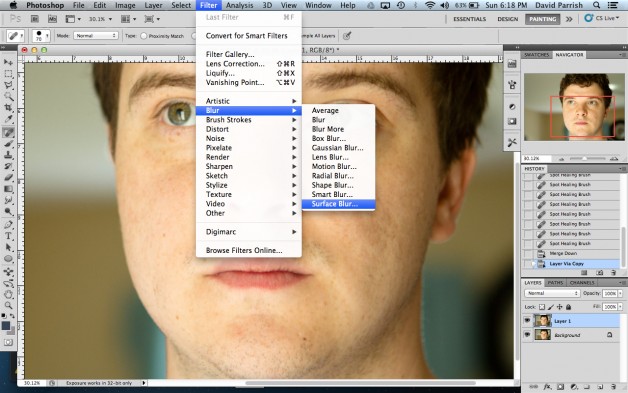
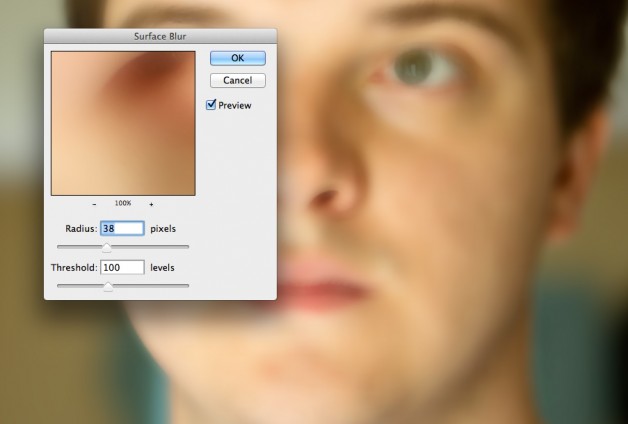
Select Filter > Blur > Surface Blur
Step 4:
Move the radius to 20 - 40 pixels. Do this by eye. You want the area that you will be touching up smooth.
Step 5:
Select "OK"
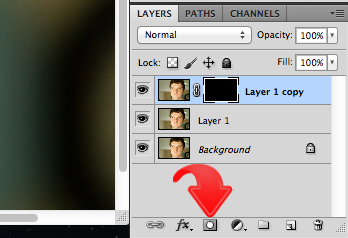
Step 6:
Select the add vector mask by pressing option + the mask button.
Step 7:
Select the paint brush, turn the opacity to around 30 and start coloring the face. Use your eye and smooth the areas that need it. Leave the nose, eyes, and mouth sharp.
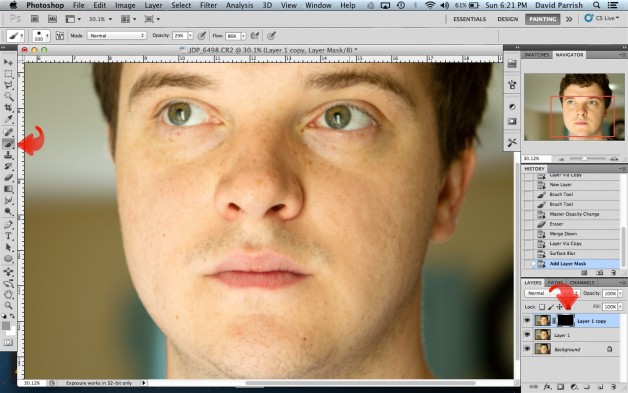
Step 8:
I like to take the opacity of the blured layer and pull it back to 80. To me it is odd when individuals have no pores. We all have them so it makes it more natural to let them peak through just a little.
Before:

After: